Creating a Website with Little Coding Knowledge, Github, and a CSS template
Have you ever wanted to create a website where you can practice your coding skills and fully customize it however you want?
If yes, then you're at the right spot! Here's a step-by-step tutorial on how you can easily create your own website using Github pages.
For the Absolute Newbies...*if applicable*
So to begin, what in the world is a terminal and how is it connected with Github?
- The terminal is pretty similar to dragging or clicking buttons to move or create files, but the only difference is that the terminal uses some word commands.
- Additionally, the terminal app is used to bridge your Github profile to your local computer.
*Github is very similar to Google Drive where you can store files.
Here are the commands you'll be seeing today (scroll to the bottom for the explanations of these commands):
lscdgit statusgit add .git commit -m"[message]"git push
*after each command, remember to press enter
You Will Need:
- Github account
- iTerm (for Mac), but you can search up alternative options online
- A downloaded CSS Template
Full Tutorial:
Creating a Github Acount
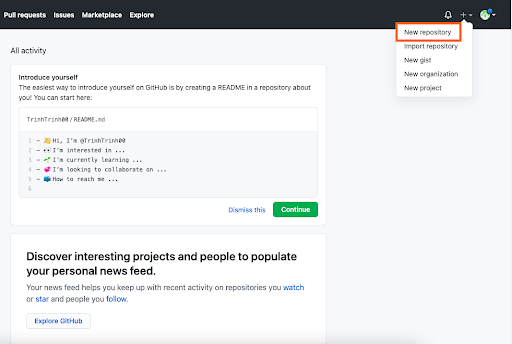
1. After creating or loging into your Github account, create a new Github repository(repo) by cliking on the plus sign in the top right corner.
*A repository is like a new project file/folder
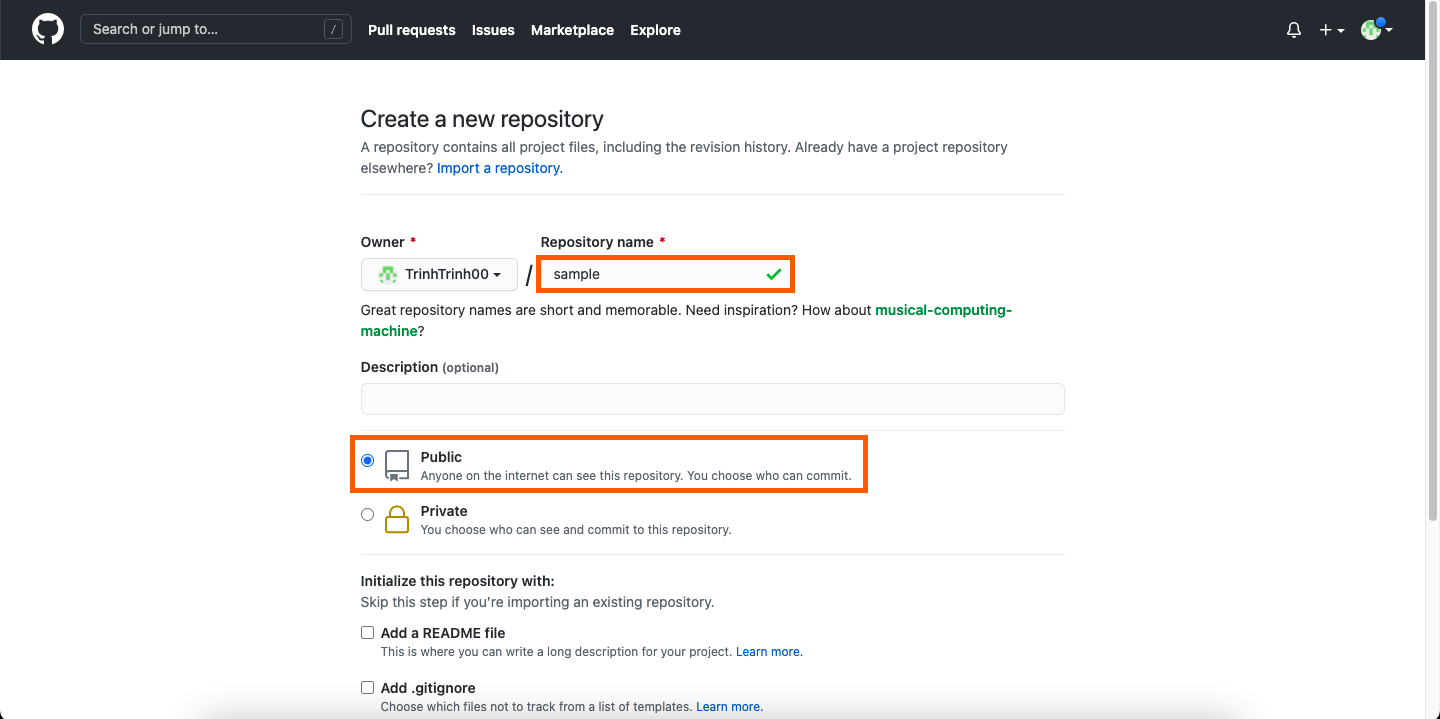
2. You can now name this repo whatever you want, but make sure to set it to public.
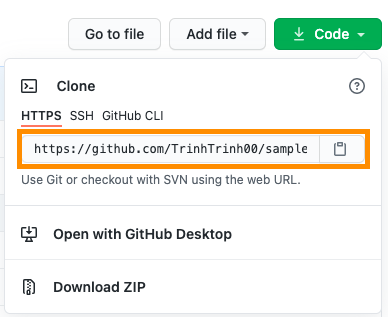
3. Since you now have a repo in Github, you want to save a copy of this on your computer. You can do this by copying the clone link and using your terminal.
Using a Terminal or iTerm to Import a CSS Template
1. To start off, you are going to create a folder for the Github link. To do this, open up your terminal app, type "git clone", and paste your copied link.
>> git clone https://github.com/TrinhTrinh00/sample.git
2. Your terminal will now have a folder with the repo name (mine is called "sample").
To see all your folders including the new one, you can type ls into your terminal.
3. Now go into your finder and drag the contents (not the folder itself) of the template into your newly created clone folder.
You'll now have a folder from Github with all the content you'll need for your website. The only thing left to do is to copy this data over from your computer and update your Github " Drive".
4. First off, switch over to your terminal and type cd [folder name]. This switches you from the directory (main screen with all the files) to the new folder ("sample").
>> cd sample
5. Now if you type git status you’ll see that you have new untracked files (red) in that folder.
6. To add these untracked files into the staging area, type git add . Now if you type git status again and the files are green.
7. Type git commit -m "[message]"
>> git commit -m "New website files"
8. Check git status again and now it’ll be clean

9. Now git push to complete the update in the Github repo.
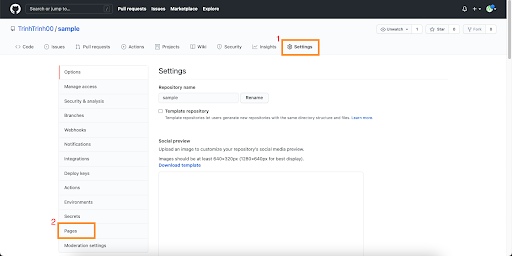
Publishing a Github Page
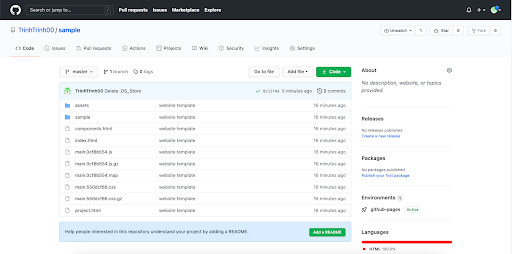
10. Switch to your Github page and refresh. You'll now see all your files in the repo.
11. Finally, go to the pages tabs (that can be found on the left side of the settings page) and click on the new link (tada! You now have a personal webpage).
Command and Terminology Explanations:
ls→ shows you where you are in the terminal aka which folder you are currently incd→ change directory<git clonegit status→ checks if there has been changes yet in that repositorygit add .→ adds all untracked files into an area called a staging area on your local computergit commit -m"[message]"git push→ updates github with the new changes you did on your computer- staging area: it is similar to a rough draft before you submit(git commit) your final draft(files)