Editing the Look of Your Website by Modifying the HTML
After creating your website, now it's time to customize it to showcase your personality.
From the different components in a website to editing small details, I'll guide you through the process I went to and offer resources to understand your CSS template.
For the Absolute Newbies...*if applicable*
When I first opened the template, there were so many different files. You'll typically see three file types:
- html: creates the basic structure(skeleton) of the website.
- css: improves the apperance of the website.
- javascript: affects how certain elements act.
adds in the elements such as the sections, dividers, paragraphs, headers, etc.
changes the color, fonts, effects, etc.
it is mainly used to make the website interacive and responsive to the user.
*you can learn more about the different files from this blog post.
Common Code Definitions (other codes that I used will be in the editing section):
Tags:
<h1>, <h2>, <h3>, <h4>, <p>= headers and paragraphs<br>= break<div>= dividor<a>= attribute
Attributes (they modify the elements):
style=: edits the css of a pageclass=: refers to a certain group of attributes- eg. a math class(class) has a lot of students(attribute)
You Will Need:
- A code editor; I used Visual Studio Code (VSCode).
- (optional) Something to take notes on
Full Tutorial:
Setting Up
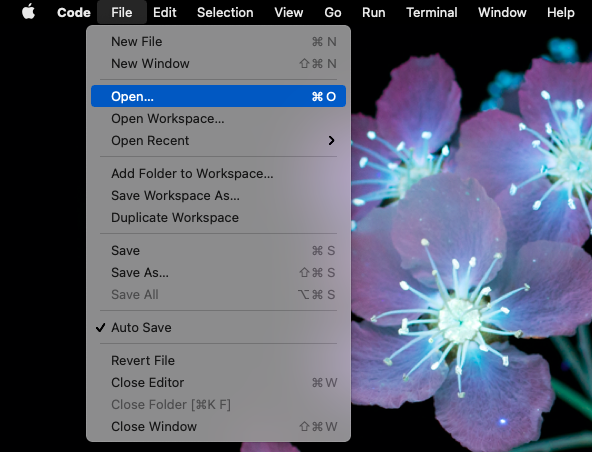
1. First open the html file into any internet browser and your code editor.
*In VSCode I go to the top left corner where it says "file" and click on the open option.
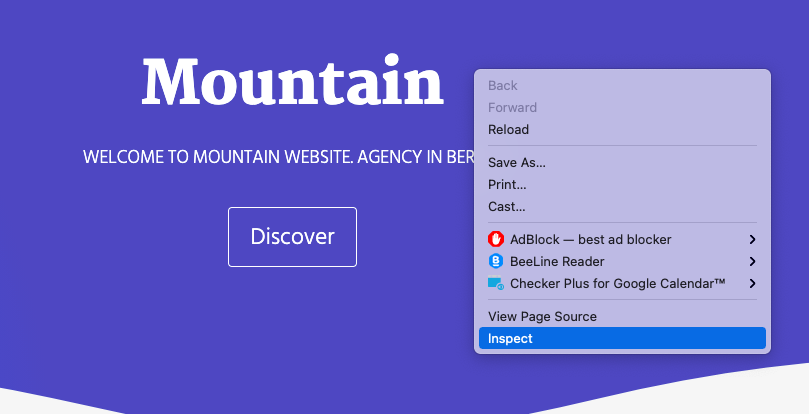
2. Right-click the website and select inspect
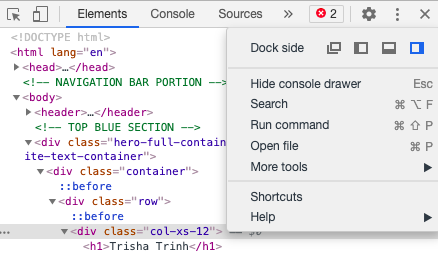
3. Now you're set to edit your website:)
Editing Code
1. To edit the page there are two ways:
- Edit directly in the inspect box and copy/paste the code from the inspect to VSCode when you like the look. OR
- Edit in VSCode, save (ctrl + s), and restart the webpage browser.
2. With the rest of the editing, it was mainly trial-and-erroring different things to see what it did to the code and using google to search up the codes that looked confusing.
*if you would like to take a peek at the code/functions I impleted on this webpage, just scroll down:)
Updating Github
1. Open your terminal and find the webpage folder using the cd command
2. Type git add . to add all the changes you've made
*If you worked on another project, you can also add specific files with git add file.1 file.2 file.3 and separate it with a space.
3. Now type git commit -m "[message] to commit the changes
**2-3. A shortcut you can do is git commit -a -m "[message]"
4. Lastly, push your committed changes from your local repository to Github: git push origin master
*Go to this blog post for more infomation on updating Github though VSCode.
Opening edited webpage
1. Open Github and find your webpage link in the settings tab under the pages section.
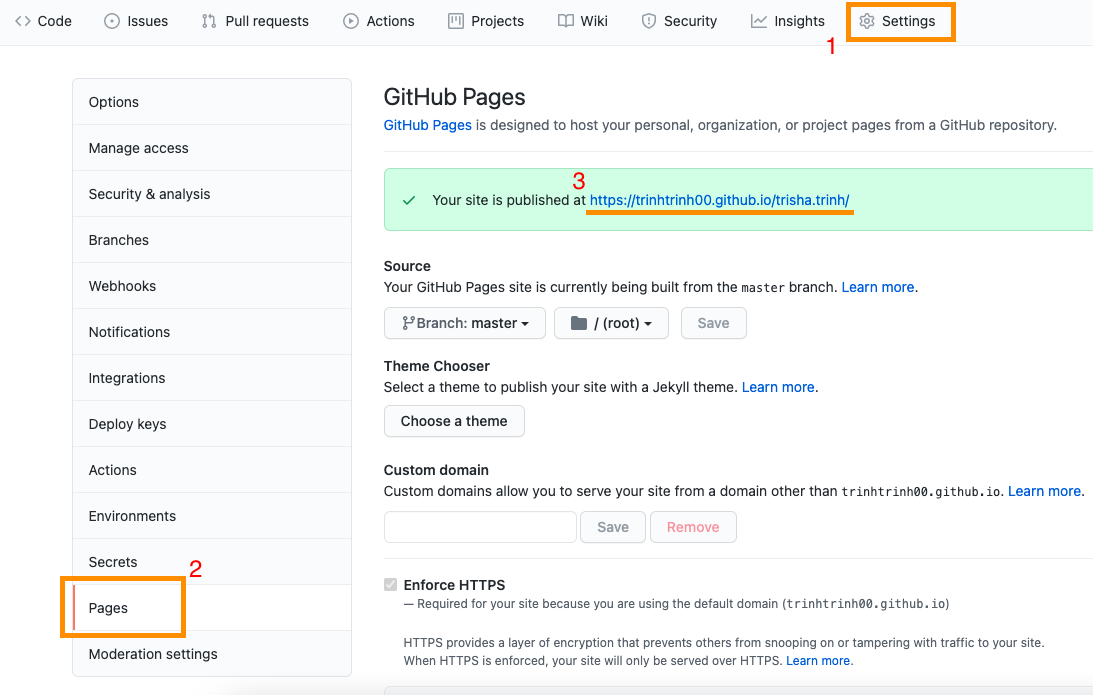
2. Click on your website link and tada! You now got your own website that you can always edit.
Command and Terminology Explanations:
ls→ shows you where you are in the terminal aka which folder you are currently incd→ change directory<git clonegit status→ checks if there has been changes yet in that repositorygit add .→ adds all untracked files into an area called a staging area on your local computergit commit -m"[message]"git push→ updates github with the new changes you did on your computer- staging area: it is similar to a rough draft before you submit(git commit) your final draft(files)
Extras:
Here is a list of the different things I did on my webpage:
1. Adding an image:
- Insert the image into the folder that contains all the components of the website
- In order to use it in your html code, you need to create an image tag and add directions to access it (which folder is the image located in?)
- For example, I’ve saved an image into a image folder that is also inside another folder called assets. Therefore in order to acces it I would have to write:
<img src="./assets/images/Trisha Trinh Headshot.jpg" alt="Trisha Trinh Headshot">
*Remember that tags are enclosed with <>. Also, don't forget to include an alt message*
2. Resize an image:
- Use the height and width attributes on the img tag to resize an image
<img src="./assets/images/Image.jpg" alt="Image" width="300px" height="200px">*More in depth explanation
3. Adding some space(padding) around an image:
style="padding:#px"- I specified mine to
style="padding-left:"
4. Code Font:
- Use the code tag:
- code(enclosed in <>)
5. Change Font Color:
style="color:#67c0f4""
6. Insert List
- ol: ordered list
- ul: unordered list
<ol><li> </li></ol>
*More information
7. Display HTML Tags as Plain Text in HTML
- < =
< - > =
>